
Home Assistant is an incredibly flexible smart home platform, but sometimes you’ll want to expand its storage — for backups, media, or large add-ons. Using network storage (NAS) is one of the best ways to do this. In this guide, we’ll cover how to set up and use network storage in Home Assistant.
Why Use Network Storage?
- Centralized storage: Keep all your backups, media, and logs in one place.
- Free up local space: Avoid filling up your SD card or SSD.
- Better reliability: Many NAS devices use RAID or redundancy.
- Accessibility: Access the same files from multiple devices.
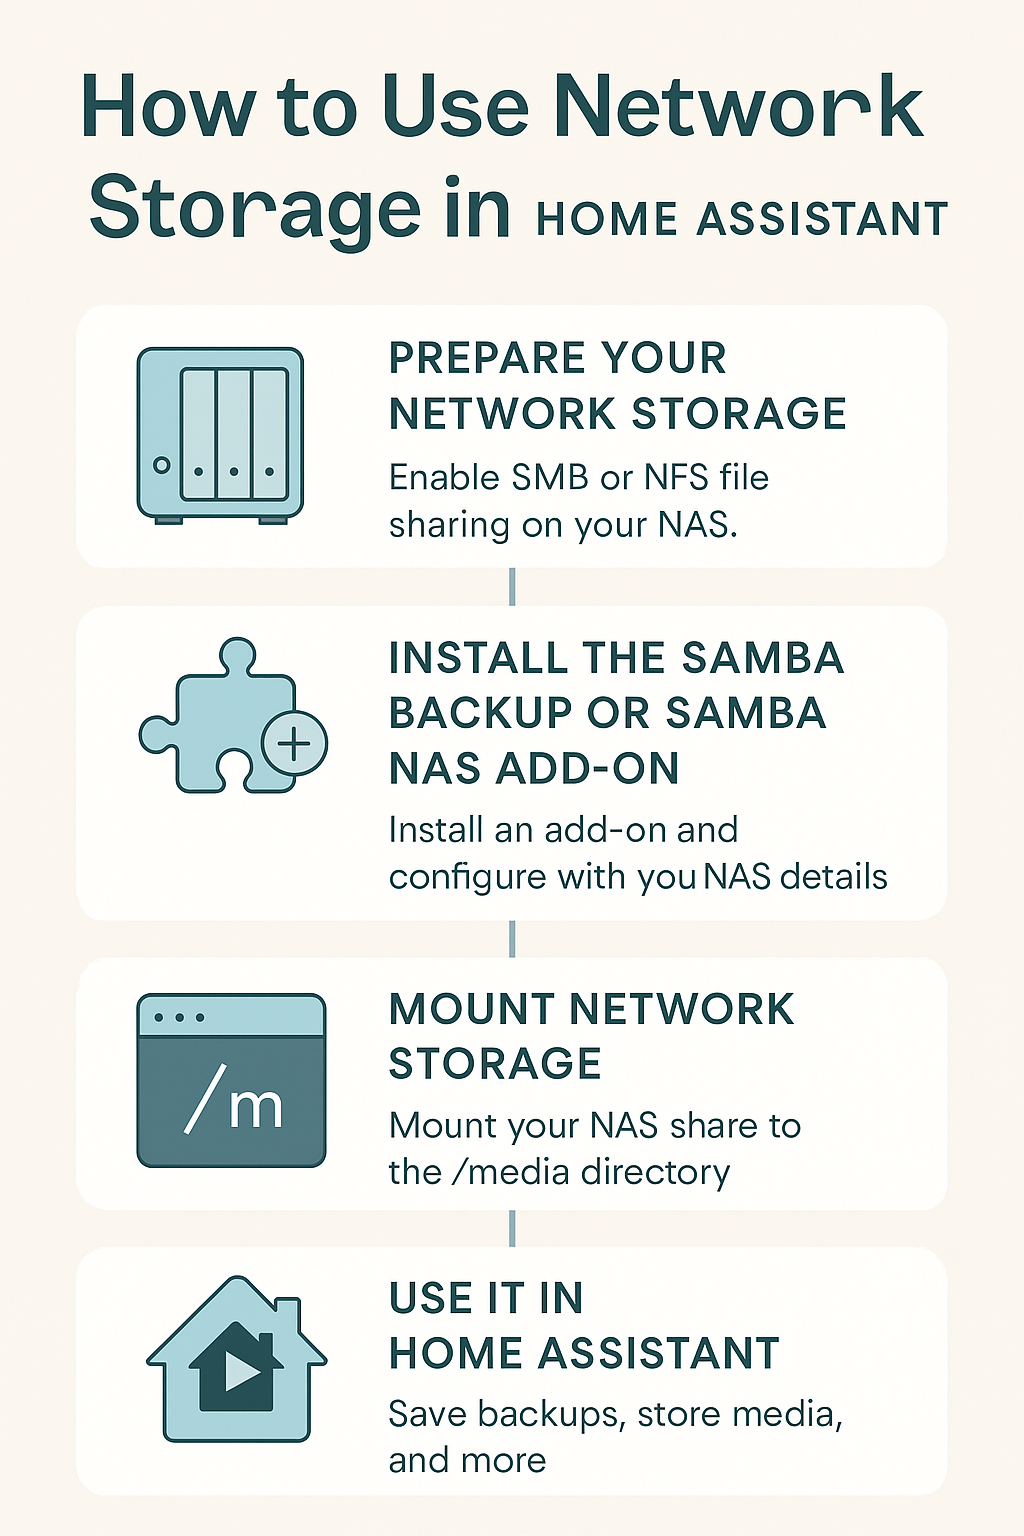
Step 1: Prepare Your Network Storage
Before connecting Home Assistant, make sure your NAS is set up:
- Enable SMB (Samba) or NFS file sharing on your NAS.
- Create a shared folder (e.g.,
homeassistant). - Note the IP address of your NAS and the shared folder path.
- Example:
\\192.168.1.50\homeassistant
- Example:
Step 2: Install the Samba Backup or Samba NAS Add-on
Home Assistant has community add-ons that make connecting to network storage easier.
- Go to Settings → Add-ons → Add-on Store.
- Search for Samba Backup (for backups) or Samba NAS (for general use).
- Click Install.
- Configure the add-on with your NAS details:
host: 192.168.1.50 share: homeassistant username: yournasuser password: yournaspassword
Step 3: Mount Network Storage
If you want Home Assistant to access network storage beyond just backups (e.g., media files):
- Open the File Editor or connect via SSH.
- Edit
/etc/fstab(if using a supervised install or OS that supports it). - Add an entry for your NAS share:
//192.168.1.50/homeassistant /media/nas cifs username=yournasuser,password=yournaspassword,iocharset=utf8,uid=homeassistant,gid=homeassistant,file_mode=0770,dir_mode=0770 0 0 - Save and reboot.
Your NAS should now be mounted under /media/nas.
Step 4: Use Network Storage in Home Assistant
- Backups: Configure Home Assistant backups to save directly to your NAS.
- Media: Add the NAS mount to your
configuration.yamlundermedia_dirsso you can access videos, music, or images from the Media Browser. - Logs & Add-ons: Redirect certain add-ons to use NAS storage for large files.
Troubleshooting
- Permissions error → Make sure the NAS user account has read/write access.
- Connection fails → Double-check IP, share path, and firewall settings.
- Mount not persistent → Ensure you added the correct entry to
/etc/fstabor use an add-on that remounts after reboot.
Final Thoughts
Using network storage with Home Assistant makes your smart home more reliable, scalable, and organized. Whether you’re keeping backups safe or streaming media across your devices, NAS integration is a powerful upgrade.
Leave a Reply