
⚠️ Safety First
Before you begin, please note:
- Working with electricity is dangerous.
- Always turn off power at the circuit breaker before handling wires.
- Use a non-contact voltage tester to double-check that no current is flowing.
- If you’re unsure, hire a licensed electrician.
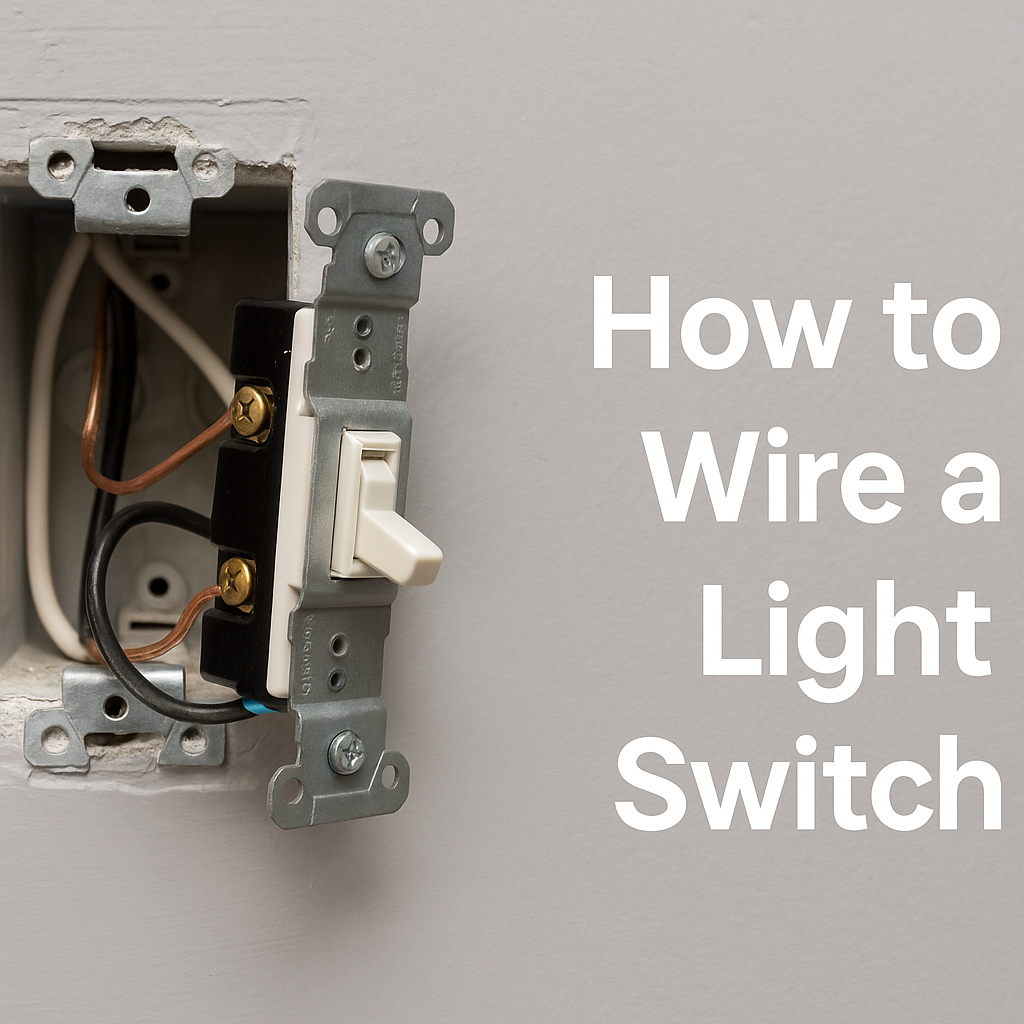
Why Learn to Wire a Light Switch?
Wiring a light switch is one of the most common DIY electrical tasks in a home. Whether you’re replacing a faulty switch or upgrading to a modern style, learning how to wire a switch can save you money and boost your confidence with simple electrical work.
Tools and Materials You’ll Need
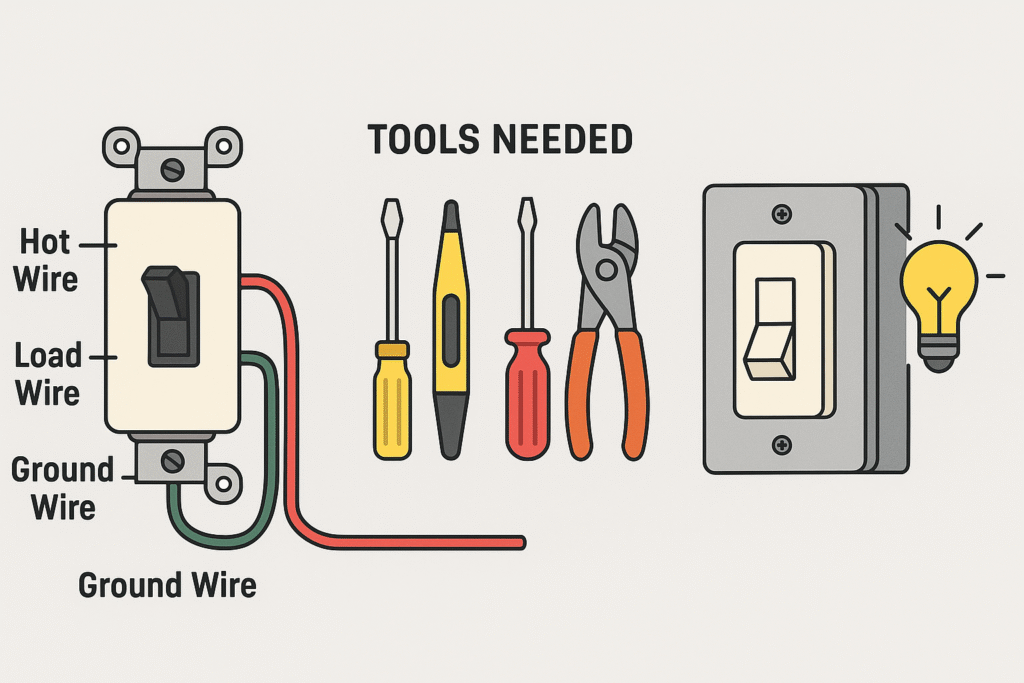
- Flathead and Phillips screwdrivers
- Wire stripper
- Needle-nose pliers
- Non-contact voltage tester
- Electrical tape
- New light switch (single-pole for this guide)
- Wire connectors (wire nuts)
Understanding the Basics
A light switch works by controlling the flow of electricity to your light fixture.
- Hot wire (black or red): Brings power from the electrical panel.
- Load wire (black or red): Sends power to the light fixture.
- Neutral wire (white): Completes the circuit (usually not connected to a simple switch).
- Ground wire (green or bare copper): Safety wire that prevents shock.
In most cases, a single-pole switch has:
- Two brass screws (for hot and load wires).
- One green screw (for ground wire).
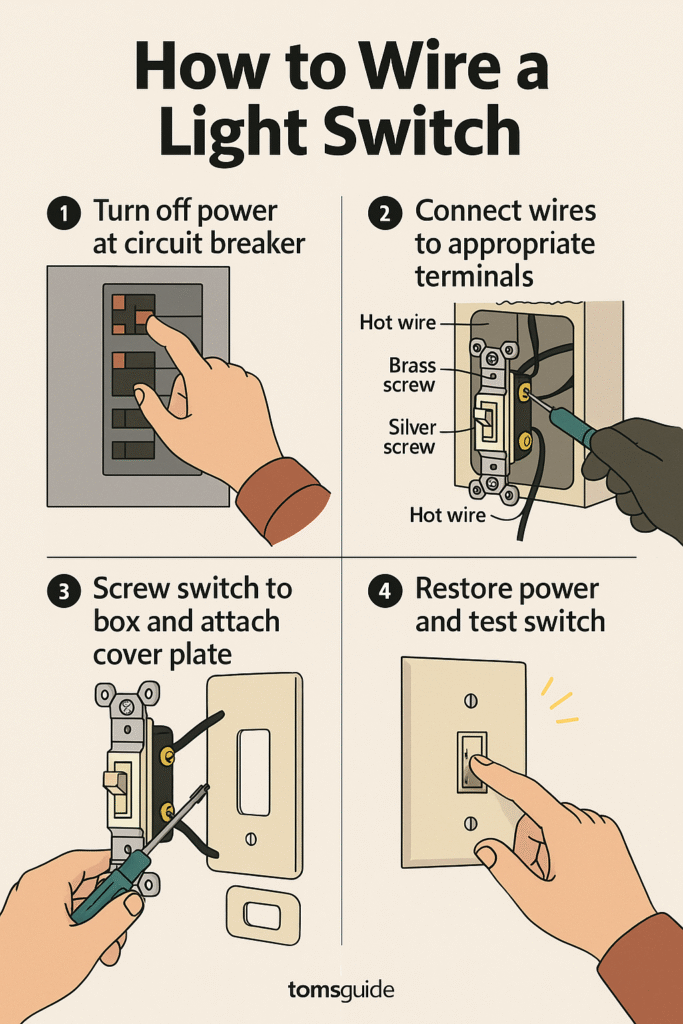
Step-by-Step: Wiring a Single-Pole Light Switch
Step 1: Turn Off Power
- Go to your home’s electrical panel.
- Flip the breaker for the circuit powering the light.
- Use a voltage tester to confirm the switch has no power.
Step 2: Remove the Old Switch
- Unscrew the wall plate.
- Unscrew the switch from the electrical box.
- Carefully pull the switch out to expose the wires.
Step 3: Disconnect the Wires
- Take note (or a photo) of which wire is connected where.
- Remove the wires from the old switch by loosening the screws.
Step 4: Connect the New Switch
- Attach the hot (line) wire to one brass screw.
- Attach the load wire (to the light) to the other brass screw.
- Attach the ground wire to the green screw.
- If there’s a neutral wire (rare for single-pole switches), cap it with a wire nut unless your new switch requires it.
Step 5: Secure and Close
- Gently tuck wires back into the box.
- Screw the new switch into place.
- Attach the wall plate.
Step 6: Restore Power and Test
- Flip the breaker back on.
- Test the switch by turning the light on and off.
Wiring Variations
1. Three-Way Switch (Two Switches Control One Light)
- Uses three wires (two travelers and one common) plus ground.
- Useful for hallways or staircases.
2. Four-Way Switch (Three+ Switches Control One Light)
- Adds another switch between two three-way switches.
- Requires more complex wiring.
(⚠️ For these, beginners should consult an electrician.)
Troubleshooting Common Issues
- Light doesn’t turn on: Check breaker, bulb, and ensure wires are tightly connected.
- Sparking or popping: Turn power off immediately; you may have crossed wires.
- Switch feels hot: Indicates overload or loose wiring; consult an electrician.
Final Tips
- Always label wires before disconnecting.
- Use proper-sized wire connectors.
- If your home wiring colors don’t match standard colors, take extra care.
- When in doubt—call a professional.
⚠️ Disclaimer
The information in this article is provided for general educational purposes only. Working with electricity is dangerous and should only be done with the proper training, tools, and safety precautions. Always turn off power at the circuit breaker before attempting any electrical work. If you are unsure or uncomfortable performing the steps described, please hire a licensed electrician.
The author and this website assume no liability for injury, damage, or other issues that may result from attempting the procedures described here. By following this guide, you acknowledge and accept that you are doing so at your own risk.
Leave a Reply